

This month’s Daring Bakers’ Challenge took us on a trip to beautiful Brazil! Renata of “Testado, Provado & Aprovado!” taught us how to make Pao De Queijo, tasty cheese buns that make the perfect snack or treat, and that will make your taste buds samba!
Pao De Queijo ( Pão means bread; Queijo means cheese) if you are not familiar with it, is a very popular Brazilian bread that doesn’t rely on yeast for leavening. It also uses tapioca starch (flour) instead of wheat flour for its main ingredient and that makes it gluten free.
When Renata posted the challenge I was both curious and excited. I have never worked with tapioca starch before and I wasn’t even sure that I will be able to find it here in Amman but I knew that any challenge posted by Renata will be an amazing one (Renata is one of the first and most wonderful bloggers I met through the daring kitchen, I deeply respect her talent and creativity and I love how caring and supportive she is on the forums and on her blog).
Added to that, the wonderful Sally had written about these little cheese bites, at the time I bookmarked the recipe because Sally promised that you will fall in love with pao de queijo from the first bite and I have tried enough of Sally’s recipes to know she keeps her promises 🙂
After some hunting I managed to find tapioca starch (also called tapioca flour by some brands) and I couldn’t wait to try
Pao De Queijo turned out to be a true Brazilian treat. As my daughter put it after trying it, they are like little savory cheese macaroons! and indeed they are. The crust slightly crackles when you bite into it while the center is soft, chewy with rich cheese notes, it is almost feels like the center is formed entirely out of melted cheese despite being light and fluffy and full of little air bubbles.
I have to warn you that these little pao de queijo bites are addictive. Keeping track of how many you “tried” will not be an easy task!
Before getting to the recipe there are a few notes that you need to keep in mind:
TAPIOCA STARCH (also known as CASSAVA STARCH) is the main ingredient of Pão de Queijo. Some brands label it as Tapioca flour. You can find tapioca flour in two variables: REGULAR and SOUR. It looks pretty much like any other starch, powdery and white, sometimes it has little granules.
CHEESE: The second most important ingredient. The authentic recipe calls for “Queijo Minas Curado” which is typical from Minas Gerais. However,that cheese is not easy to find. Renata suggested using Monterey Jack Cheese as it is somewhat similar to the Brazilian cheese, taste and texture-wise
TRADITIONAL PÃO DE QUEIJO
Servings:
Yields about 80 small balls
Ingredients:
500 gm (4 cups) tapioca starch (If you have access to sour tapioca, you can use 250gm (2 cups) of each)
1 cup (250 ml) whole milk
2-3/4 tablespoons (40 ml) (1½ oz) (40 gm) butter
1 teaspoon (5 ml) (3 gm) salt (or to taste depending on how salty your cheese is)
3 cups (750 ml) (9 oz) (250gm) Monterey Jack Cheese (or another cheese of your liking, or a mix of cheeses), coarsely grated
1 to 3 large eggs
Directions:
- Heat milk, butter, and salt in a small sauce pan until it comes to a boil. Watch closely as it may boil over. Remove from heat and set aside.
- Sift tapioca starch into a large bowl.
- Pour the boiled (hot) mixture over the tapioca and start stirring with a fork. The milk mixture will not be enough to form a dough yet. You will have a lumpy mixture, that’s what it is supposed to be.

- Keep stirring with the fork, breaking down the lumps as much as you can, until the mixture cools down to warm.
- At this point, preheat your oven to moderately hot 400° F/200° C/gs mark 6
- Add the grated cheese to the tapioca mixture and mix well, now using your hands.
- Add one egg at a time, mix with your hands until dough comes together. (I only needed one egg but keep in mind that tapioca differs from brand to brand so you may need more eggs )I suggest you lightly beat the egg with a fork and add little bits until the dough comes together into a soft but pliable dough. You only have to knead it a bit, not as much as you knead a yeasted bread. It’s OK if it is slightly sticky.

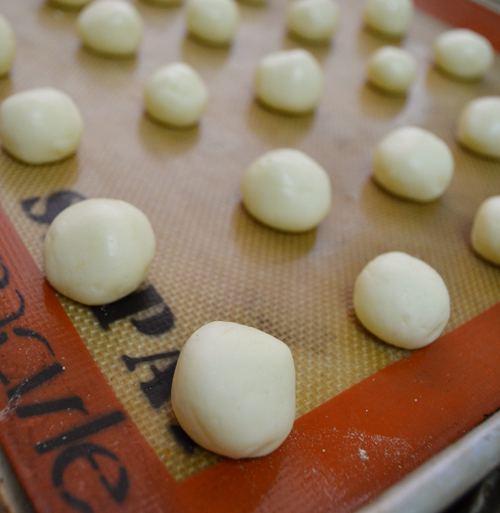
- Form balls with the dough and place them on a baking sheet lined with parchment paper or silicon mat or lightly greased with vegetable oil. If necessary, you can oil your hands to make shaping easier. The size of the balls may vary from small bite-sized balls to the size of ping pong balls. They will puff up quite a bit after baking. I personally prefer the smaller ones.
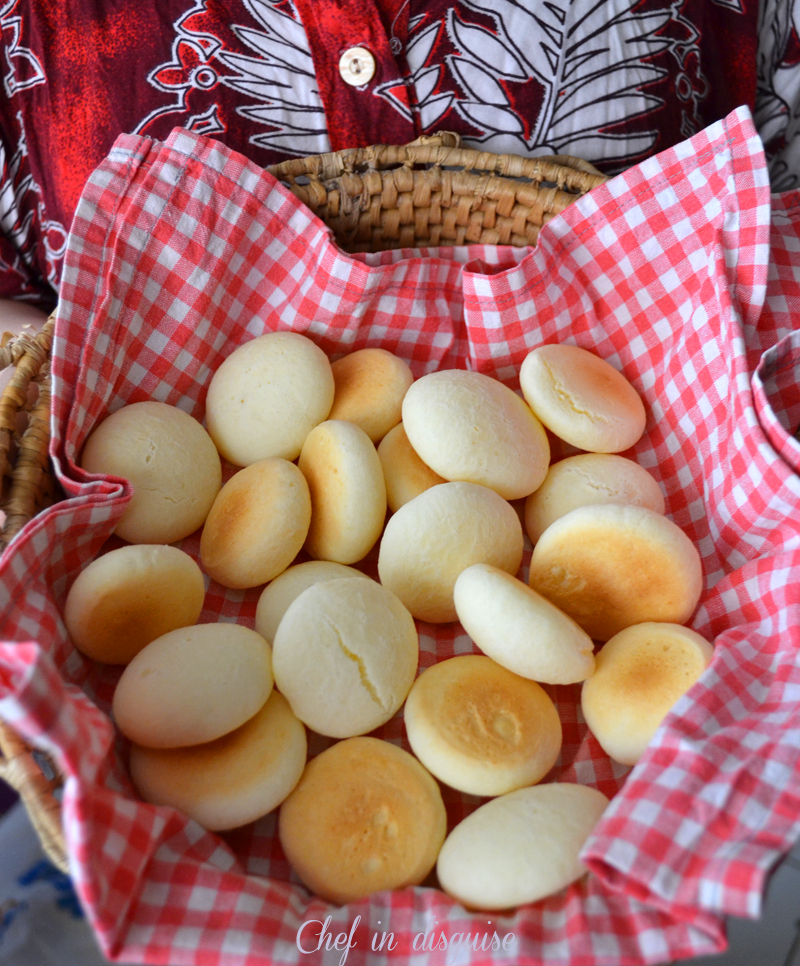
- Bake for about 25 minutes or until they just start to brown on the bottom. You may have golden spots of cheese on the crust. Don’t over-bake as they will get hard and bitter.
NOTE: If your dough gets too soft and sticky to shape balls, you can always add a bit more tapioca starch or pop the dough into a piping bag and pipe the dough on a baking sheet.
- Serve hot or warm.
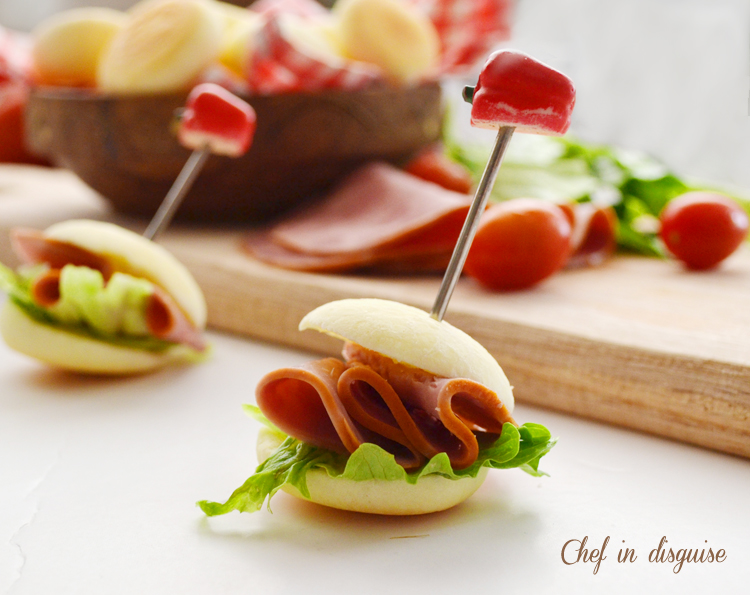
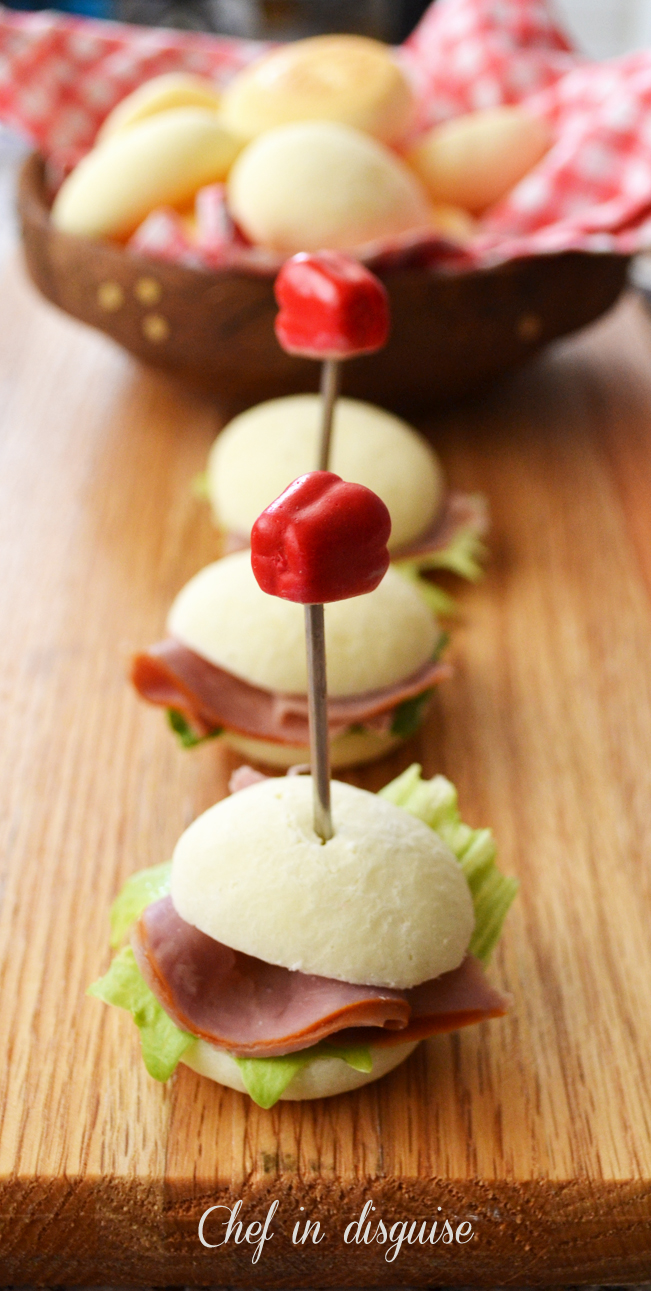
Note: After they cool down, Pao de queijo lose their special texture, so bake only what you need.You can form the dough, bake as much as you need and freeze the rest unbaked. If you happen to make extra and still have left-overs, keep them in an air-tight container (max. 24 hours) and try making “Panini”, or mini sandwiches with them.

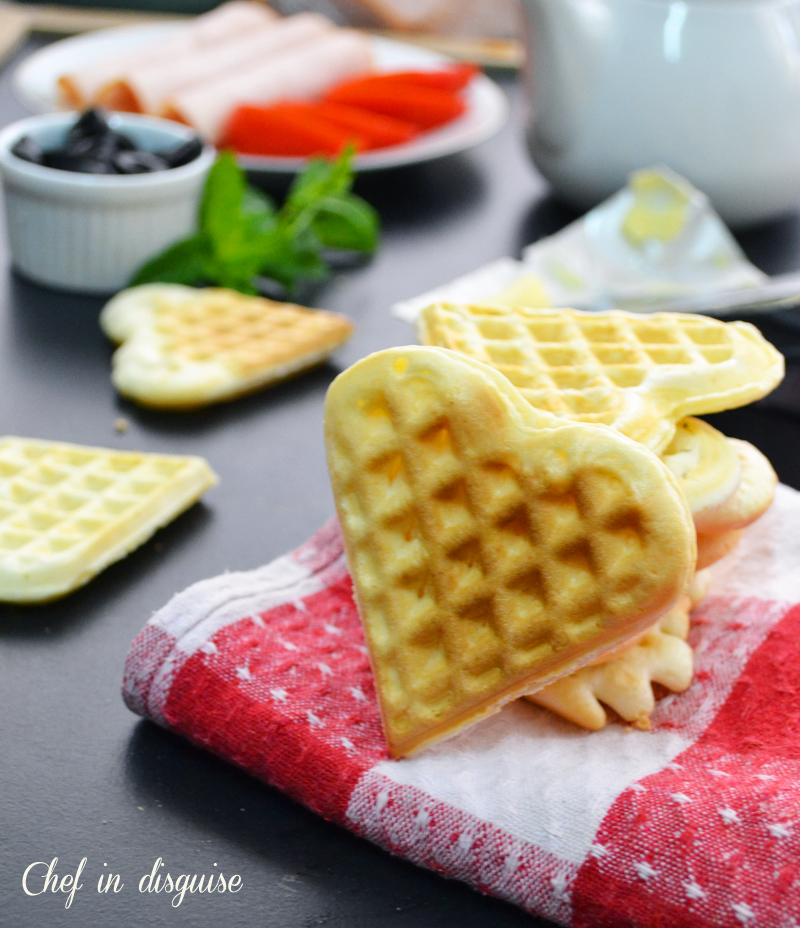
“QUICK” PÃO DE QUEIJO WAFFLES
Servings:
Yields about 30 if made in small (2 tablespoons) 30 ml muffin cups
Ingredients:
2 large eggs
10 tablespoons (150 ml) whole milk
4 tablespoons (60 ml) (2 oz) (60 gm) butter, melted OR 60 ml vegetable oil (neutral tasting such as canola, grapeseed, etc)
1 teaspoon (5 ml) (3 gm) salt (or to taste, depending on the saltiness of your cheese)
1/2 cup (125 ml) (1-2/3 oz) (50 gm) good quality parmesan cheese such as parmigiano-reggiano, grated
2 cups (500 ml) (9 oz) (250 gm) tapioca starch (or 150 gm regular, 100 gm sour tapioca starch)
Directions:
- Preheat the oven to moderately hot 400°F/200°C/gas mark 6
- Prepare a muffin pan by lightly greasing it with vegetable oil. Alternatively, you may use silicone muffin cups which don’t need any greasing.
- Place all ingredients, except tapioca starch, in the jar of your blender. Blend for a minute or so.
- With the blender still running, remove the little cap from the lid and add the tapioca flour by the spoonfuls.
- Once you have added all the starch and your batter is smooth, turn off the blender.
NOTE: Because tapioca starch may vary from brand to brand, you may need to add some extra milk if your batter starts to get too thick and difficult to blend. Alternatively, you can stop adding the starch when you get a somewhat thick, but still pourable batter, similar to waffle batter.
- Pour the batter onto a pre-heated waffle iron….
- Cook until lightly golden.
- Place the on a wire rack while you cook the others.

- Serve warm.
Storage & Freezing Instructions/Tips:
Pão de Queijo dough should be baked right away. If not baked right after making the dough, it can be frozen (raw) with excellent results. All you have to do is shape the balls of dough to the desired size and place them side by side, but not touching, on a plate or baking sheet lined with a food-safe plastic bag (you can use this same bag to pack them after frozen).
The “waffle” kind can be frozen after cooking and then they can be stored in plastic bags right after they cool down. When you want to serve, they can go straight from the freezer to a toaster, just be careful so that they don’t brown too much.
Thank you Renata for an AMAZING challenge. I know I will be making pao de queijo again and again for many years to come
