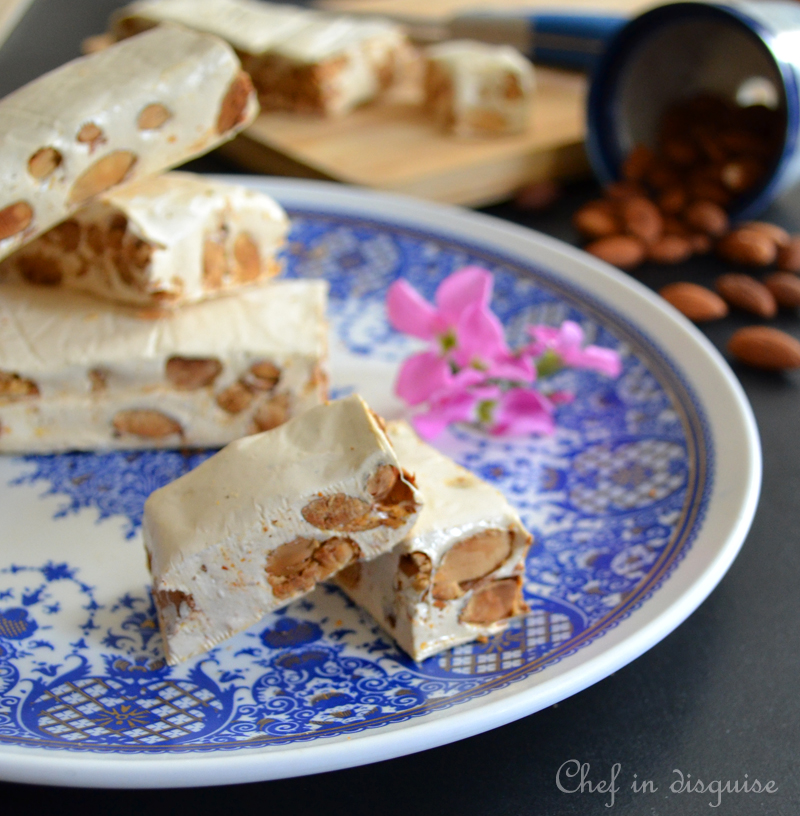
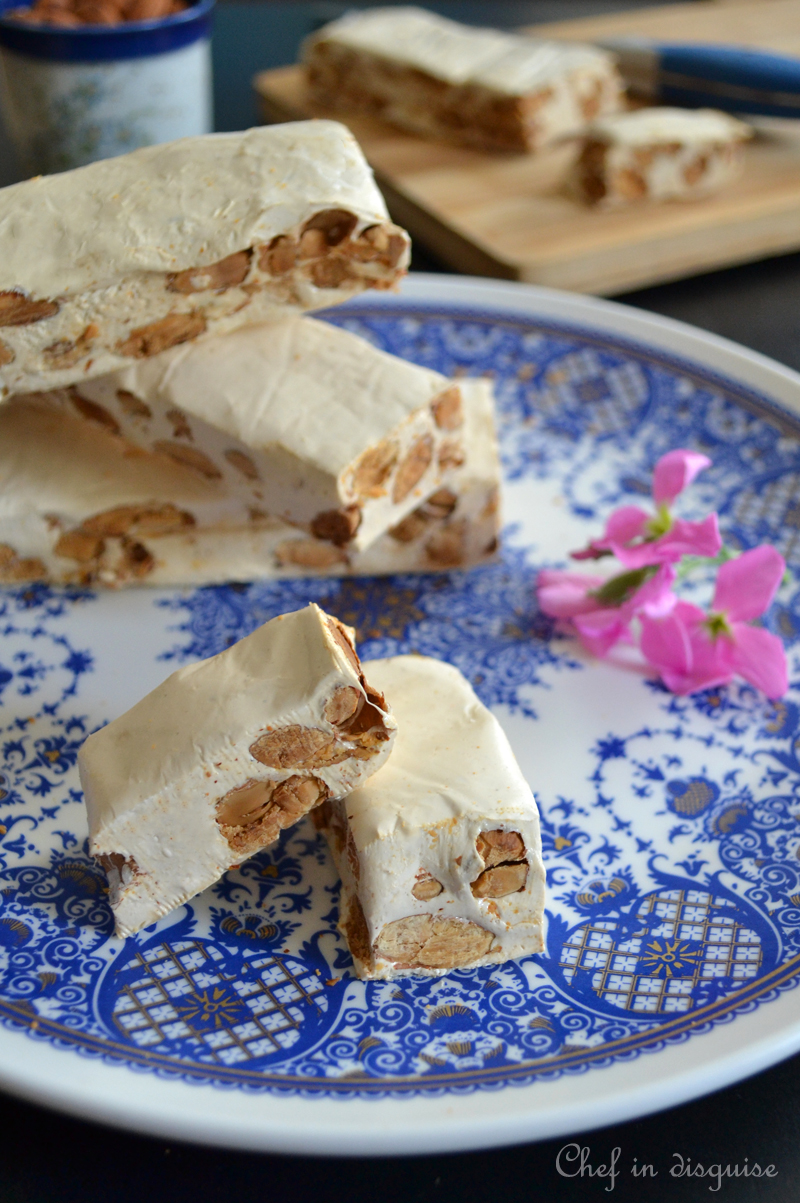
 The March 2014 Daring Bakers’ challenge was hosted by Rebecca of BakeNQuilt. She challenged us to learn to make classic nougat and to make it our own with our choice of flavors and add-ins.
Making nougat from scratch was on my “when I am brave enough and skilled enough” list. The process seemed too intimidating! Boiling hot sugar syrup, exact temperatures, recipes with far too many steps and far too many details that can go wrong. Then the March challenge was announced and I just knew that if I didn’t do it now, I may never do it.
Looking back on the experience, I have to say that despite my fear and anxiety, the process was actually enjoyable! If you keep the tips listed below in mind and if you follow the steps you will find out that making nougat at home is actually much easier than what you expect!and once all is said and done, it is also very rewarding.Not only did you make your own nougat but it also tastes better than the over priced stuff you buy, you can customize the filling and flavors to your liking and of course you can brag about the fact that you can make your own nougat from scratch 🙂 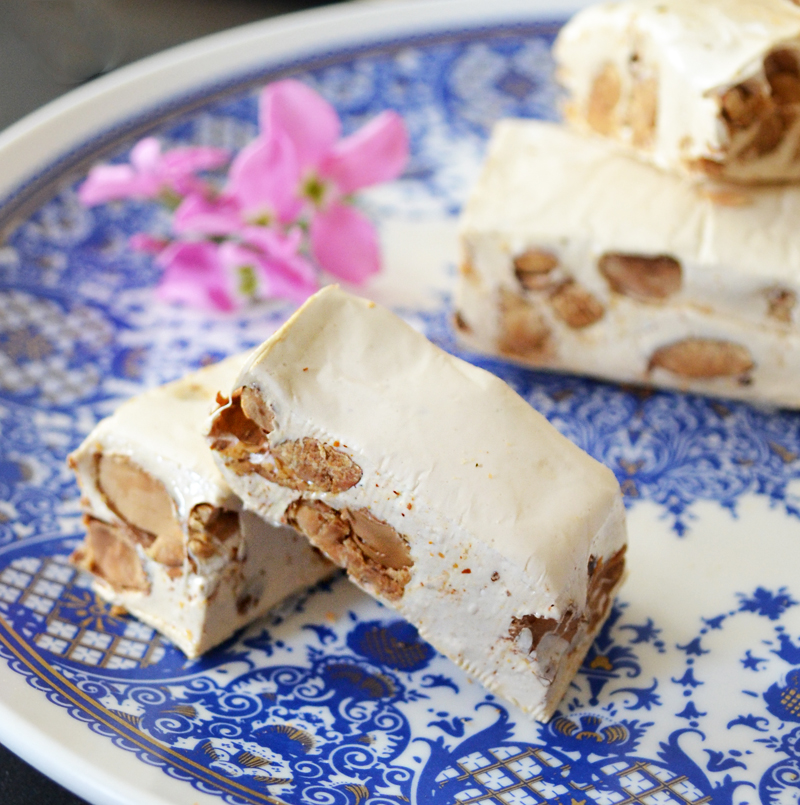
Notes and tips on making homemade nougat:
A few things that you need to keep in mind when making nougat.
The candy thermometers there are two kinds of candy thermometers:digital and analog mercury thermometers made specifically for candy making. Before using your thermometer to make candy, it would be a good idea to test its accuracy. You can do so by boiling some water and measuring its temperature. You see, when you are making candy, even 2 degrees can make a difference in the finished texture.
Keep in mind that your candy thermometer should not directly touch the bottom of the pot when you use it or you will be measuring the temperature of the pot, not its contents, and you run the risk of blowing out your thermometer.
The temperature : You will find that recipes vary in the temperature they use to make nougat. The temperature listed in the recipe is the one that I used. If your candy comes out harder or softer than you’d like, try adjusting the syrup temperature the next time.
Weather also plays a part in the outcome of nougat. Nougat is best made on a cool, dry day, as humidity can noticeably affect the texture of the nougat and its shelf life. Nougat made on a humid day may turn out softer than nougat made on a dry day even if you cook the sugar syrup to the same temperature each time. You may want to play with the temperature of the sugar syrup to work with your climate.
Nuts: Many nougat recipes call for the nuts to be kept warm prior to adding them to the nougat because cold nuts cause the warm nougat to set up faster which makes it hard to handle, added to that, nuts are easier to fold in when they are warm
Edible rice paper: Edible rice paper, also known as wafer paper helps prevent the nougat from sticking to everything and makes it easier to cut, serve, and store the candy. It can often be found in Asian food markets and in some gourmet stores, or purchased online. (Note that edible rice paper is not the same as thin rice paper wrappers intended for spring rolls). If you cannot find any, line your pan with parchment paper or foil and spray it thoroughly with nonstick cooking spray
Fat: is added to nougat to give it a shorter texture and cleaner bite. I’ve tried the recipe without it and it still comes out tasting good, it’s just chewier.
Clean up: Nougat is super sticky! it sticks to everything! The easiest way to clean up the bowls and spatulas is to fill them with water and leave them for a couple of hours, the nougat will simply dissolve away. Trying to scrub it away immediately can prove to be impossible, soaking the utensils in water for a little way will make your life MUCH easier
Nougat Torrone:
Recipe Source: Chocolates and Confections by Peter P. Greweling Servings: one 9×13 inch (23×33 cm) slab The recipe can be divided in half Prep time: approximately 45 minutes Cook time: approximately 30-45 minutes Cool time: approximately 45 minutes
Ingredients
4 sheets edible wafer paper, 8×11 inches (20×28 cm)
For the Meringue:
2 large egg whites, at room temperature ¼ cup (60 ml) (50 gm) (1¾ oz) granulated sugar ½ teaspoon (3 gm) cream of tartar
For the Syrup:
1½ cups (360 ml) (500 gm) (18 oz) honey (preferably light in color and flavor)
3 cups (720 ml) (600 gm) (21 oz) granulated sugar
½ cup (120 ml) (170 gm) (6 oz) light corn syrup
½ cup (120 ml) water 1 vanilla bean, split and scraped
Add-ins:
2 tablespoons (30 ml) (25 gm) (1 oz) cocoa butter, melted (see Recipe Notes above)
5 cups (1.2 litre) (680 gm) (24 oz) toasted whole unblanched almonds
Directions:
1. Place the toasted almonds in a heat safe bowl and put in an oven at 250°F/121°C until needed.
2. Line the bottom of a 9×13 inch (23×33 cm) pan with wafer paper, cutting it to fit.
3. Combine the egg whites, sugar and cream of tartar for the meringue in a 4.5 or 5 quart (about 5 litre) mixer bowl fitted with a whip attachment but do not begin whipping.
4. Heat the honey in a small saucepan or in the microwave until nearly boiling
5. Combine the remaining ingredients for the syrup (sugar, corn syrup, water and vanilla bean) in a 2 quart (2 litre) saucepan.
6. Bring the sugar mixture to a boil and then lower the heat and boil for 3 minutes, covered.
7. Remove the lid and attach the candy thermometer. Continue to cook uncovered on high heat without stirring until the syrup reaches 290°F/143°C. 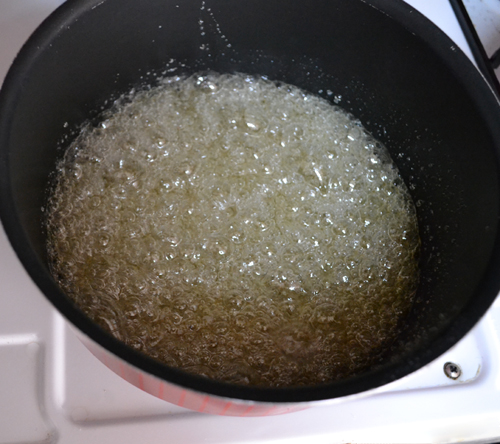 8. When the sugar mixture reaches 290°F/143°C, start whipping the egg whites on high speed and move the sugar mixture off the heat and slowly pour the heated honey into the sugar mixture. The mixture will foam up initially.
 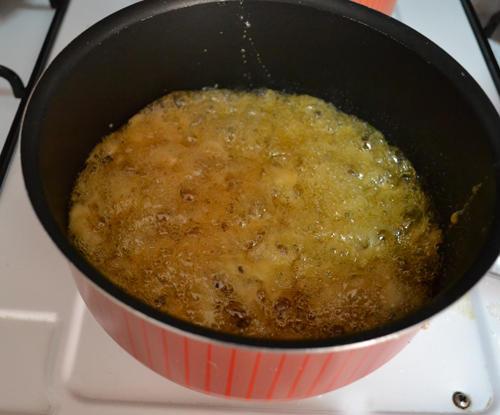 9. Put the pan back on the heat and continue cooking until the mixture again reaches 290°F/143°C.
10. Remove from the heat and use tongs to take out the vanilla bean pods.
11. Slowly pour the hot syrup into the whipping whites by letting it run down the inside of the mixer bowl. Don’t pour it directly on the whites or they may collapse.
12. Whip on high speed for 3 minutes.
13. Add the cocoa butter and whip JUST until the mixture is smooth again. Do not over mix.
14. Remove the bowl from the mixer and dump in the hot nuts from the oven. Mix quickly with a heat-safe spatula until the almonds are evenly distributed.
15. Immediately pour the hot nougat into the prepared pan, on top of the wafer paper.It will be stiff! Use a rubber spatula to scrape the candy from the sides of the bowl and work quickly. Cover the top of the nougat with more wafer paper and press to smooth and even out the nougat.
Note: If your nougat is covered with rice paper, you can weigh it down to compress the nougat evenly. Place a second 9×13 pan on top of your nougat, and place a large book or other heavy object in the pan to weigh it down and provide even compression
Note 2: Nougat sets up pretty quickly, so it’s important to work fast once the sugar syrup has been added to the eggs. It’s a bit of a judgment call in whipping the nougat enough that it is well aerated and not so long that it stiffens up on you. It should look kind of like a thick cake batter, it should fall in thick ribbons when you scoop it. If your nougat gets too stiff to work with, you can try aiming a hair dryer on high heat at the nougat and the bowl for a few seconds to warm it up and make it more pliable.
16. Let the nougat cool at room temperature until just warm to the touch, about 45 minutes. Don’t let it go too long or it will be very difficult to get out of the pan and difficult to cut. You want it to still be a little flexible when you remove it but not so soft that it loses its shape.
17. Pry the nougat out of the pan with a spatula and dump it out onto a cutting board. Trim the edges and cut the nougat with an oiled knife into the size pieces you want. 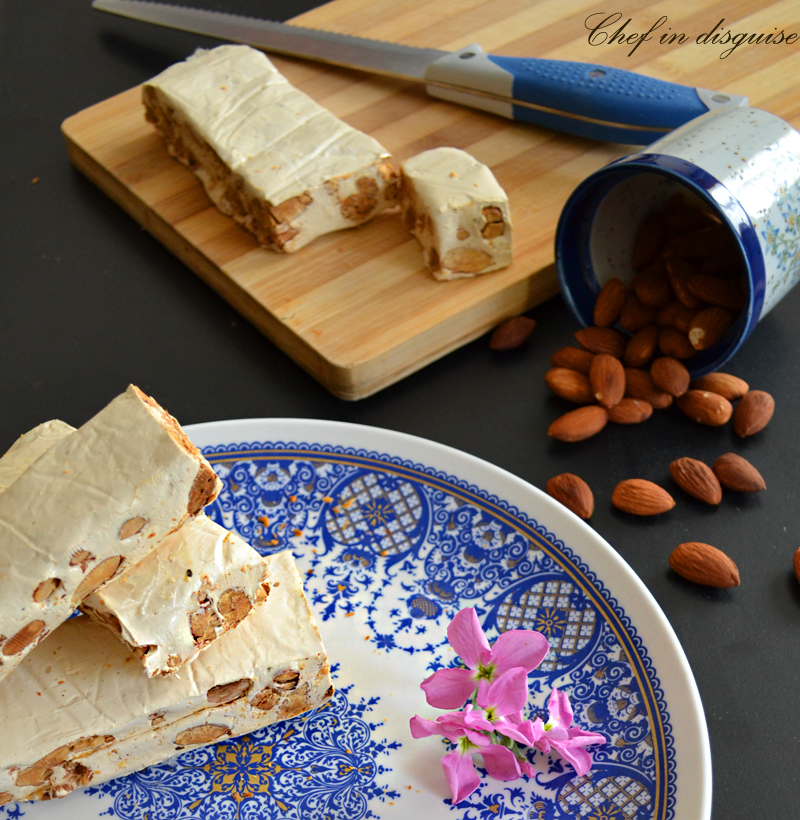 18. Wrap the nougat individually or store at room temperature in an airtight container. The texture of the nougat will soften a bit after a few days, especially if you have added dried fruits in with the nuts.

