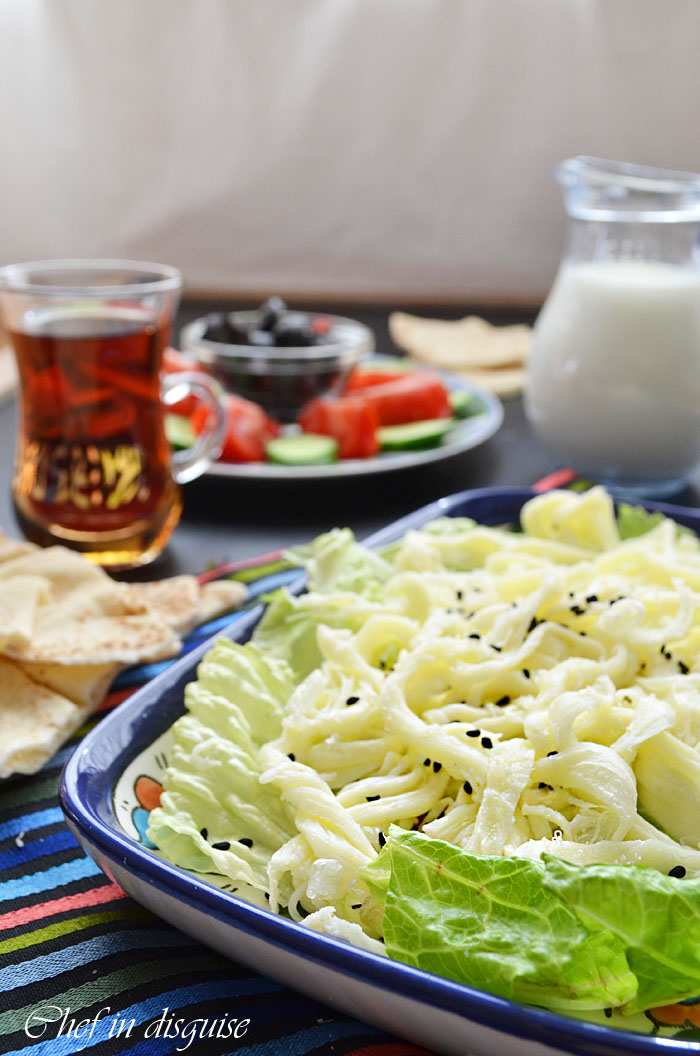
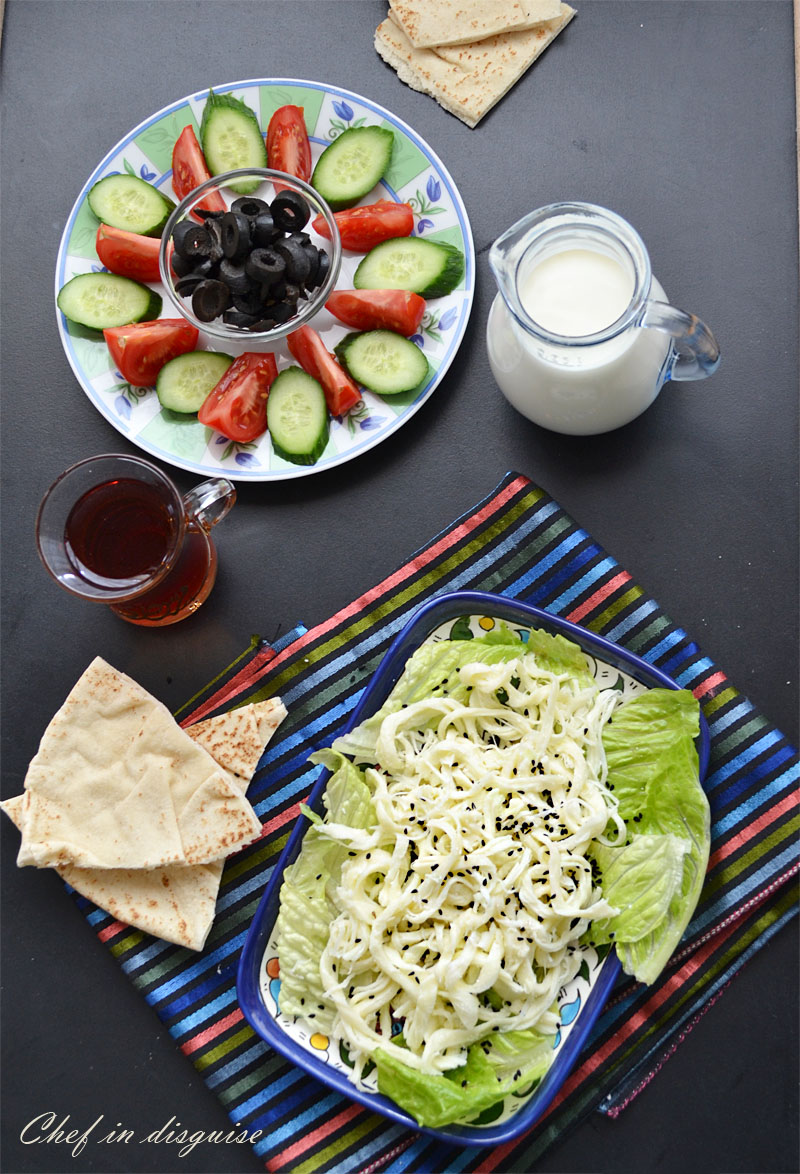
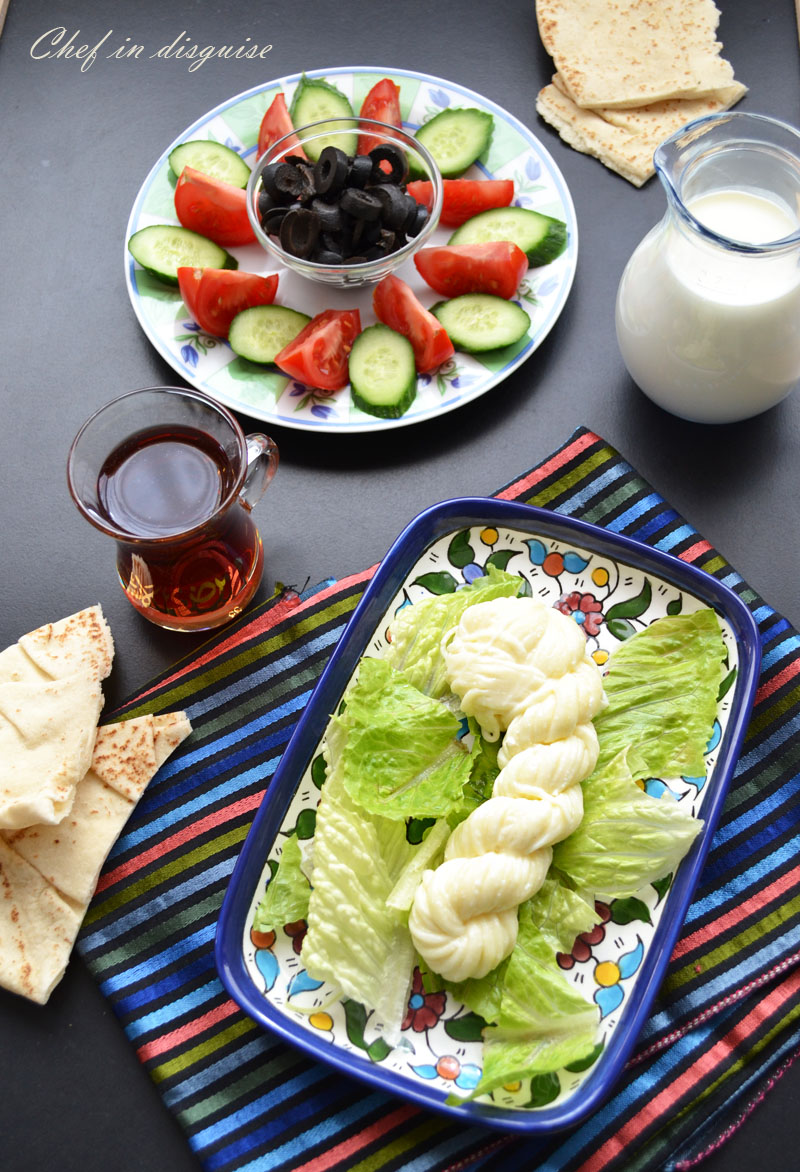
 When I posted the cheese making challenge on the daring kitchen forum, one of my fellow daring cooks attempted to make Armenian string cheese and I immediately knew what my next cheese making challenge should be. Armenian string cheese الجبنه المشلشله or Syrian string cheese as it is often refered to here is a type of milk string cheese made in much the same way as mozzarella is but what sets it apart is the addition of mahlab, nigella seeds and the unique braided or plaited shape. The braid makes this cheese a fun snack for kids and adults alike. unbraiding it and eating it strand by strand is only part of the fun. This Armenian string cheese is perfect for making grilled cheese sandwiches or using as a stuffing into pastry and fatayer as it melts beautifully.
The process may seem daunting with all the steps and pictures but if you have made mozzarella at home before, then you will find making Syrian string cheese a breeze. Even if you have never attempted making mozzarella at home, I promise you will really enjoy it. Watching milk turn into curds and then watching the curds melt and stretch into beautiful strands is nothing short of magical. Or as close to magic as you will get in the kitchen
In this post I will walk you through making mozzarella at home and then turning it into addictive string cheese.
Before we get started, please visit my cheese 101 page for basic information and definitions for the terms like rennet, whey. UHT milk.

The milk:
Raw milk or pasteurized milk are your only options here. Raw preferable to pasteurized. UHT milk will not work even with the addition of Calcium chloride.
Hygiene:
Working with raw milk means that you need to be extra careful about keeping the utensils, hands and working space clean. You don’t want to contaminate the milk and cheese.
Microwave, hot water or direct heating in a pot?
To make mozzarella or string cheese you have to heat the curds to allow them to melt, that will enable you to stretch them. This can be done in threeways: the microwave or using hot water/whey or you can heat the curds directly in a non-stick pan. I use both the hot water/ whey method and the direct heating because I no longer own a microwave. I gave mine away a couple of months ago.
Before I get to the recipes a big thank you goes out to John from the Bartolini kitchens. without his support and wonderful tutorials I would have never started out on this whole cheese making adventure
How to Make Mozzarella at Home
Inspired by: From the Bartolini kitchens and Chef nini
Ingredients
To make 3 balls of mozzarella (375 g) in total
- 1 gal (3.67 L) whole milk — NOT ultra-pasteurized
- 1¼ teaspoon citric acid ملح ليمون dissolved in a ¼ cup (60 ml) of cool distilled water
- ½ tablet rennet dissolved in a ¼ cup (60 ml) of cool distilled water
- ¼ teaspoon Lipase dissolved in a ¼ cup (60 ml) of cool distilled water – optional but, if using Lipase, add another ¼ tablet of rennet
- 1 teaspoon table salt
Directions
Place milk in a non-reactive pot with a lid. Gently heat the mixture until 88˚F (31˚C), stirring occasionally to prevent the milk from sticking to the bottom or burning.
Add the citric acid water mix and stir well.
If using Lipase, add it now and mix thoroughly.(I did not use it)
Place pot where it will not be disturbed. Add dissolved rennet, stir thoroughly, and cover pot.I usually place some kitchen towels on top of the pot or place it next to the heater.
Do not disturb for at least one hour.(on a cold day wait for 2 hours)
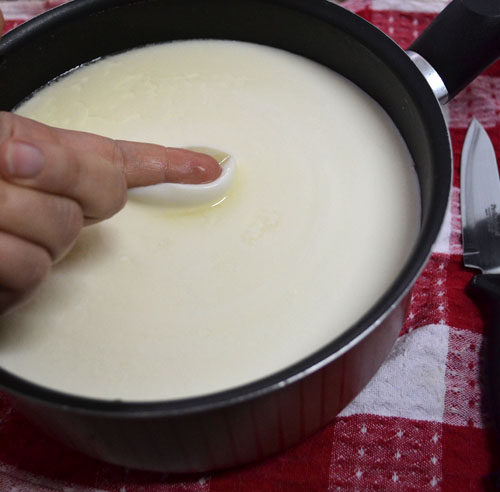
You should see that the milk has transformed into curd with some clear liquid on the top and sides (this liquid is called whey).
You need to check the curd to see if you can get a clean break. You can do this is a number of ways. One would be to put your finger into the curd at an angle and then pull it out. You should feel some resistance from the curd and your finger should come out relatively clean
If your finger comes out covered in yogurt like substance then that is called a bad break (which means the milk did not set properly and the curds are too weak)
Another way to make sure the curd is ready is to put a straw vertically into the curd. You should feel a slight resistance when you are planting the straw into the curds and the straw should stand vertically on its own
If you get a bad break wait another hour and test again.
If you still get a bad break,wait another hour. If you still get a bad break then sadly there is nothing you can do, you have to discard the milk and start over.
Cut the curds
If you get a clean break then now is the time to cut the curds, this step helps the whey separate from the curds.
Use a long knife or offset spatula, and starting at one side of the pot, cut a straight line through the curd.
Once the opposite side has been reached, create another slice about 2 cm away from the previous cut. Repeat until the entire curd has been cut into horizontal slices.

Give the pot a quarter turn and, starting at one end of the pot, repeat the slicing process. When finished, the curd should be cut into squares.
Now you need to cut the curds below the surface, to do that. Take the knife or offset spatula and direct it at a 45 degree angle to the surface.
Slice through the curds from side to side at ½ inch intervals. This will cut the curds beneath the surface. Repeat this step twice, turning the pot and cutting the curds on an angle each time.
Cover the pot again and leave it undisturbed for 15 minutes. This will allow more whey to separate from the curds.
At the end of 15 minutes, using a slotted spoon, stir the curd gently. Cut any curds that are larger than 1-2 cm.

Return the pot to the stove and gently heat the curds and whey until they reach 108˚F (42˚C), stirring very gently to prevent sticking on the pan’s bottom.If you stir the curds too much or break them into pieces that are too small, you will get a crumbly cheese that looks like ricotta and the curds won’t come together or stretch when you heat them. So stir GENTLY.
Maintain that temperature for 35 minutes. I heat the oven to 150 C. Turn it off and place a towel on the oven rack, place the pot in the oven, cover it with a towel and leave it in the closed oven for 35 minutes.
Your other option to maintain the temperature is to use a water bath.Prepare a larger pan with a little water and heat to 40 ° C, turn off the heat. Place the pot with the curd in the pot of water (make sure the water does not overflow!). Cover with a lid and then cover them all in a towel to keep warm.
At the end of the 35 minutes the curds should have firmed up
Test the curd
Bring a small saucepan of water to a near boil. The temperature should be between 80 and 90 ° C.
Take a piece of curd with a slotted spoon.
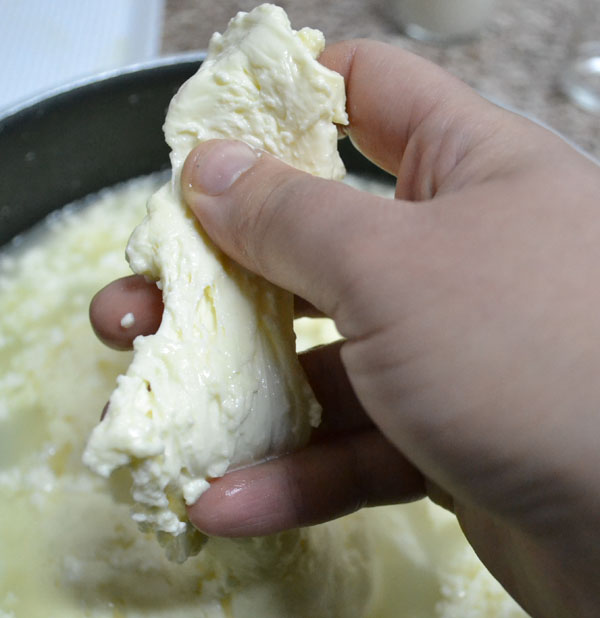
Place the spoon with the curd into the water at the right temperature. Allow a few seconds and remove the curd. Stretch it between your fingers. If it stretches, your curds are ready. Otherwise, allow the curds to remain warm and covered for another 30 minutes and check again.
At this stage you can store your mozzarella curds in the fridge for a couple of days.
When your curds are ready, gently pour the pot’s contents into a sieve, separating the curds while reserving the whey.
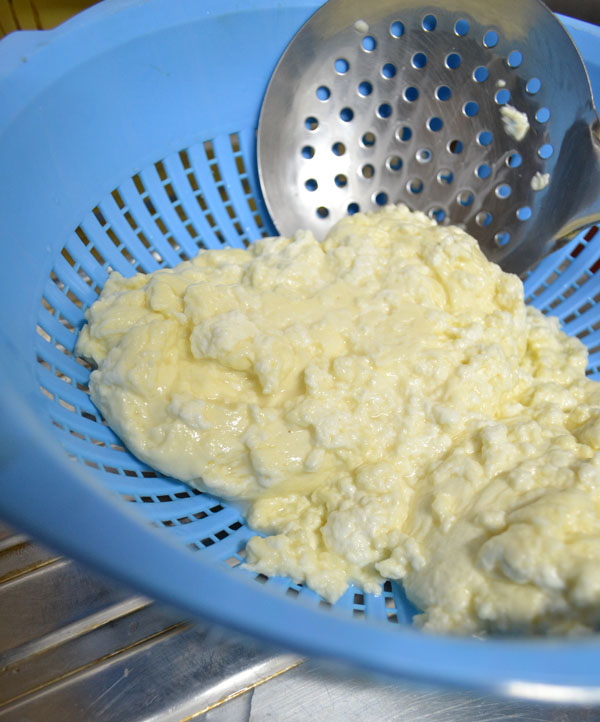
Allow to drain for 15 minutes. Break apart any large clumps of curds.
Place curds into a large bowl, season with salt, and mix thoroughly.
Divide the curds into thirds. Place one third of the curds into a slotted spoon or fine sieve.
Heat a pot of water or whey to 80 or 90 C

Use a spoon to submerge the curd ball into the hot water/whey. Leave it submerged for 30 seconds
Take the curd out and slowly stretch the curd If it breaks instead of stretching, re-heat the curd for another 15 seconds before trying again.
Fold the curd in half onto itself.
Stretch it again. Continue to stretch & fold submerging the cheese in the water for 30 seconds after every couple of folds.
At first the cheese will be dull and lumpy but then it will start to stretch more and become smooth and shiny


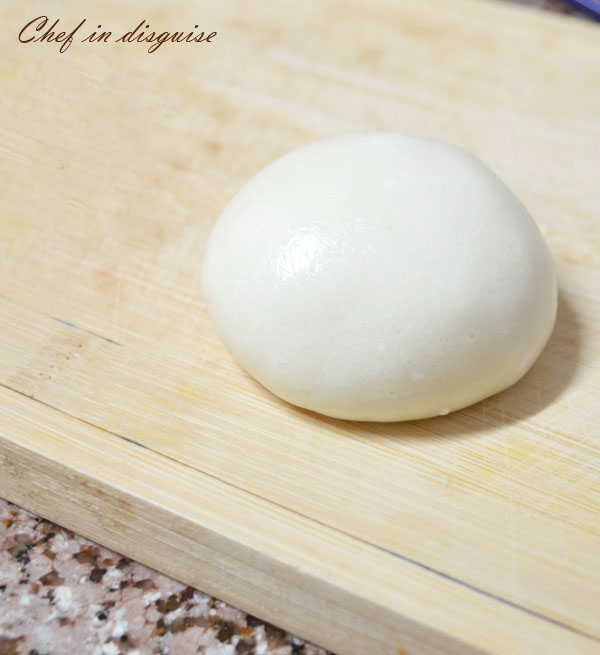
Keep stretching and folding until the cheese is smooth and shines. Form it into a ball like you would bread dough for a dinner roll.
Congratulations, you made mozzarella!

Best if used right away. See Notes for storage tips.
Notes:
Mozzarella will remain good to eat for about 1 week but the sooner you use it, the better it will taste.
Mozzarella is at its best when it is still warm after being stretched. If you are not going to use it immediately, tightly wrap it in plastic wrap and set aside until needed. Do not refrigerate.
If you’re not going to use it that day, do not wrap it but place it in some reserved whey, covered, and then refrigerate it. Be aware that once it is chilled, the texture — the creaminess — will change because the milk fats will harden.
Traditionally the whey reserved from making mozzarella cheese may be used to make ricotta.To do that heat the whey to (95˚C), allow it to cool, and then strain it through a cheese cloth or fine sieve. The problem with this technique is that the amount you will get is very small. No more than a few tablespoons. I do not use this technique to make ricotta. Instead I use this recipe
Mozzarella making troubleshoot
My mozzarella looks like ricotta and it won’t melt or stretch

This can be due to one of two causes. Either you stirred the curd when you reheated them vigorously and broke them down to pieces that are too small. Or the milk you used was heated beyond the pasteurization temperature. Either way there is nothing you can do to make the cheese melt and stretch but that does not mean you have to throw it away. Sprinkle it with some salt and herbs and enjoy it as a spread on your bread. It still tastes good
My mozzarella is dry and rubbery as opposed to smooth and shiny
There are many steps you can take to achieve a softer cheese. You may have stretched your curds too much. Simply let the cheese fall on its self a few times and put it in your container. It loses a lot of moisture during the stretching process.
If it is still too dry, next time, add the rennet at a temperature 2-5 degrees lower or do less cutting and stirring before the stretching stage.
I added the citric acid and the milk started to curdly immediately, what do I do now?
Add your rennet, wait for 30 minutes. You will probably see that the milk transformed into a block of cheese and whey has separated around the edges. If that is the case, skip the cutting the curds and reheating part, simply strain the curds and proceed with stretching them because the cutting, waiting and reheating is done to help the curds shrink and in such a case they have already shrunk and can be stretched immediately
I am using the same milk I used before, but now my curds are too soft.
Sometimes the age of the milk is a factor. You always want it to be as fresh as possible. Try adding a little more rennet (1/2 tablet) next time. There is also a possibility that the milk you are using has been heated beyong the pasteurization temperature even if the package says pasteurized. When possible use raw milk or milk with the lowest pasteurization temperature
How to make Armenian string cheese
100 g (1 ball ) mozzarella curds
1 teaspoon nigella seeds (optional)
1/8 to 1/4 teaspoon Mahlab
Sprinkle your mozzarella curds that you have formed into a ball with mahlab and nigella seeds. The amount is really up to your taste but I would start with 1/8 to 1/4 teaspoon of each .
Knead them into the cheese and taste it to see if you would like to add more.
Place your kneaded cheese curds on a slotted spoon and them submerge in the hot water (80-90 C) for 30 seconds.
Remove the cheese from the water, drain off any excess fluid
Make a hole in the center of the cheese ball turning it into a doughnut shape.
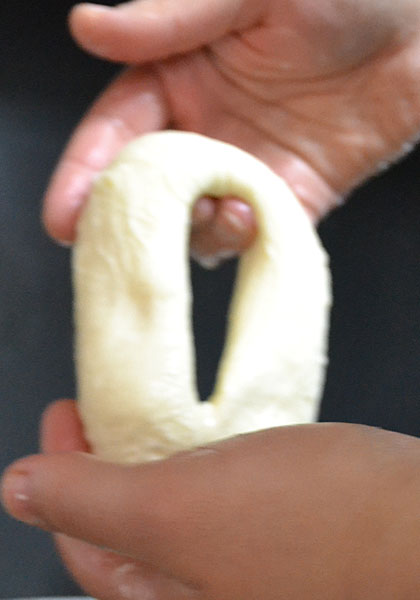
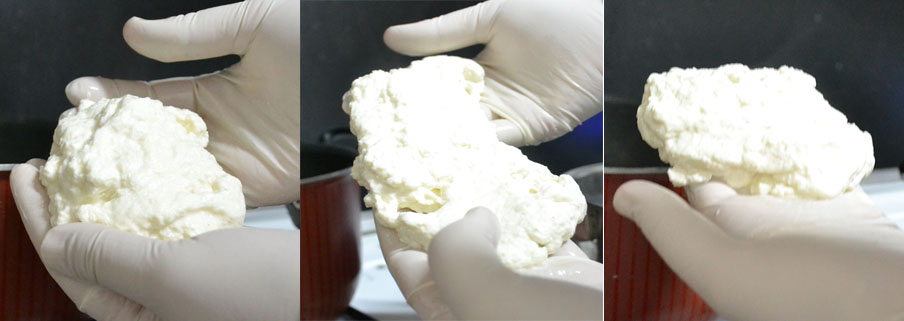
Sorry about the quality of the pictures, my kids insisted on helping with the photography 🙂
Stretch the cheese with both hands to form a large loop

Double the loop on itself,then stretch again.
Repeat stretching and looping
The more you do this, the more strands you will get in the final cheese.
When the cheese cools down twist both ends in opposite directions
Twist ends in opposite directions and intertwine rope into a braid. Place one end through the loop of the other to lock it.
If a picture is worth a thousand words, a video may be worth a million 🙂 I hope this helps you understand the stretching and looping. You can skip the intro and you will find a video of ladies handing down the tradition of making string cheese to their grand daughter
Set cheese aside to dry thoroughly. Wrap in plastic wrap and
refrigerate or freeze.

You may also like
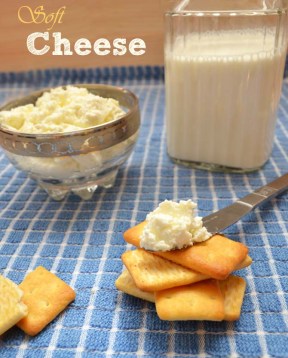
Yogurt cheese (labneh):