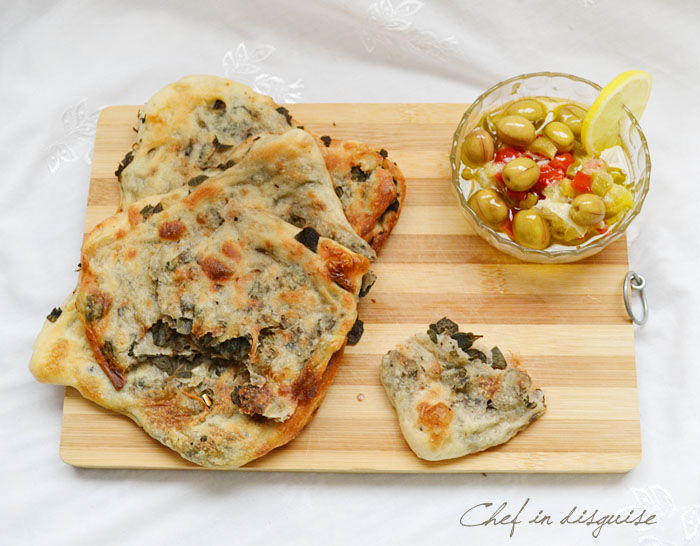
Every time I make this fteer, I am transported back to my grandmother’s kitchen. I close my eyes and allow the smell of the anise and the baking bread to wash over me and I am a kid again, 7 years old running in from the orange orchard excited about seeing a bird’s nest or a rabbit!I find my grandmother in the kitchen humming a song, working her magic transforming simple fresh ingredients into her signature ring date cookies or sesame crackers or this wonderful flat bread.
You see my grandmothers was one of those old ladies who expressed their love and affection by cooking and baking. Most of her children including my dad lived abroad so whenever they came home to visit, she would love nothing more than to make them their favorite meals and baked goods. This fteer or flat bread which is also known as Palestinian peasant bread can be made with a variety of fillings. My grandmother made three varieties of this layered bread, cheese and anise, oregano and green onions, and a sweet almond one that she would drizzle with syrup. You can also make it with spinach instead of the oregano if you like.
There are 2 keys to making amazing fteer. The first is to brush the dough with olive oil after each fold. That gives the final product wonderful thin flaky layers. The other key is use of fresh ingredients, as you will see in the ingredient list, the dough is simple, flour, yeast and water. It is the fresh filling ingredients that transform this from a regular simple bread to a wonderful layered bread that is bursting with flavor with every bite. 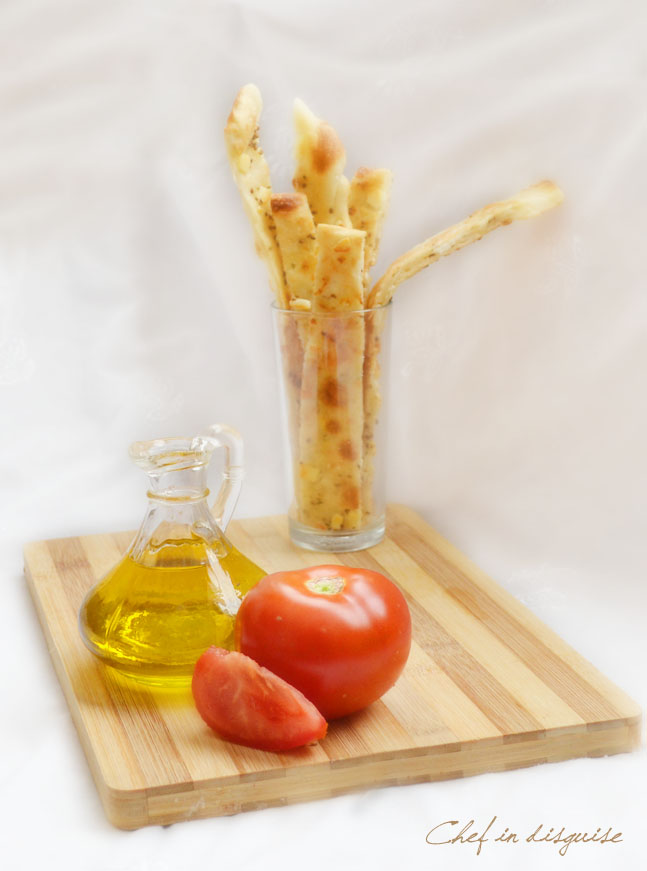
Cheese and anise bread (feteer falahi bjebneh)
To make 8 squares
The dough
1 kg all purpose flour
1 tablespoon yeast
1 teaspoon sugar
1/4 teaspoon salt
water
1/2 cup olive oil
1/2 cup vegetable oil
I usually half the recipe to get 4 squares, you can double or half the recipe according to your needs
The filling
Cheese and anise filling
3 cups of nabulsi cheese (or any firm salty cheese that holds its shape during baking) cut into small 1 cm cubes
Instructions
Mix the filling ingredients in a bowl , set aside
In a 1/4 cup of warm water dissolve the yeast and sugar and wait for the yeast to bubble (this is called proofing the yeast, if the yeast does not bubble and foam, it has gone bad and you need to buy a new one)
Add the salt to the flour, whisk to combine, add the yeast/water mixture and start kneading adding water gradually till you get a soft sticky dough consistency (I needed 2 cups of water but the amount varies with the type of flour)
Knead the dough for 5-7 minutes, allow to rest , covered in a warm place for half an hour
In a bowl add the vegetable oil and olive oil and keep it next to your working area.
Dip your hands in the oil and cut the dough into 8 balls , brush each ball in the oil mixture and allow to rest for another 10-15 minutes
Brush a pan or your working surface with a little oil, start with the first dough ball you cut and spread it into a circle roughly 25 cm or 10 inches in diameter  Brush the top with a little oil then fold one-third of the circle onto the middle third of it (as you can see in the picture) Spread your filling onto the folded part of the dough then fold the other third over the filling (the dough should now look like a rectangle)
  Fold one-third of the rectangle over the middle third, cover it with your filling of choice. Fold the other third over your filling (now you should have a square dough)
Allow this one to rest while you start working on the next one.
Once you have stuffed and folded all the dough balls, go back to the first square and brush it with oil and spread it into a larger square using a rolling-pin or your hands. Then do the same with the rest of your squares.
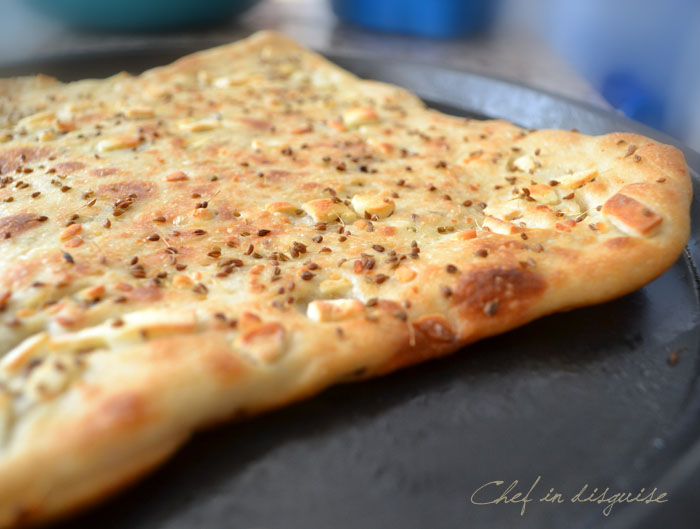
Note: The larger and thinner you spread the filled dough, the more crispy the final bread will be.If you would rather have a soft and chewy bread, don’t spread the filled dough squares too much
Transfer the dough to a baking sheet that you have brushed with oil and sprinkle them with anise.
Bake on the middle rack of a preheated oven (270 C or the highest temperature your oven will go)
Once the bottom is golden brown, turn on the broiler till the tops are golden brown too
Don’t leave this bread unattended, it browns quickly because it is thin 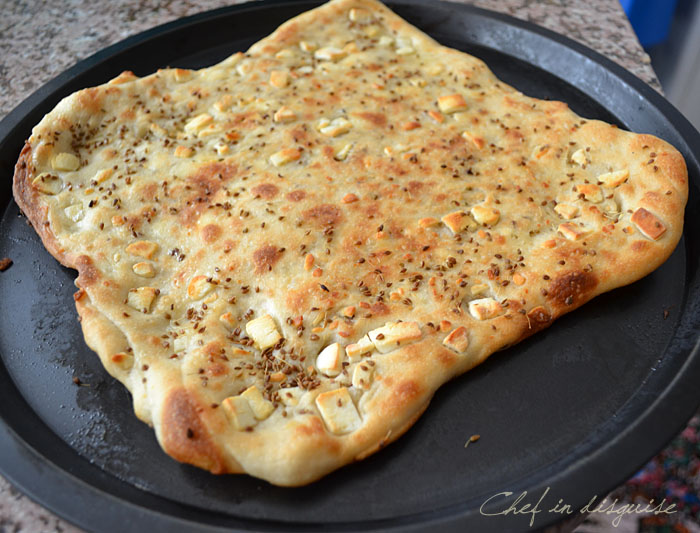 Allow the bread to cool on a wire rack for 7-10 minutes and then cover it with a clean dry cloth to keep it from becoming dry.
  Notes:
- This bread can be frozen for up to 3 months, just wrap well in a plastic bag and freeze it.When you want to eat it just get it out of the freezer and into a heated oven for a few minutes till it is warmed through and it will be as good as new
- You can make the bread in a smaller individual portion size by cutting the dough into smaller balls (16 balls instead of 8 if you are making the whole recipe)
- Nabulsi cheese is a salty firm cheese made from goat’s milk, I share my recipe for making it in this post. If you can’t find it, you can replace it with any firm and salty cheese you like
- The filling can be adapted to your liking. Spinach and onions, oregano and green onions, or almonds are the traditional choices but you can try new and different combinations,use your imagination.
- As you can see in one of my pictures, I like to cut the bread into sticks and serve it as an appetizer, this is actually my kids’ favorite way.


