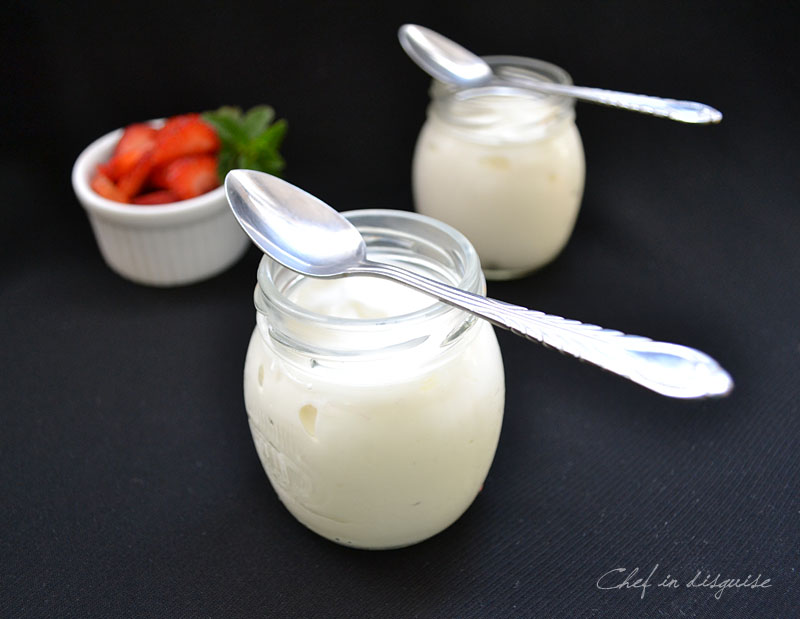
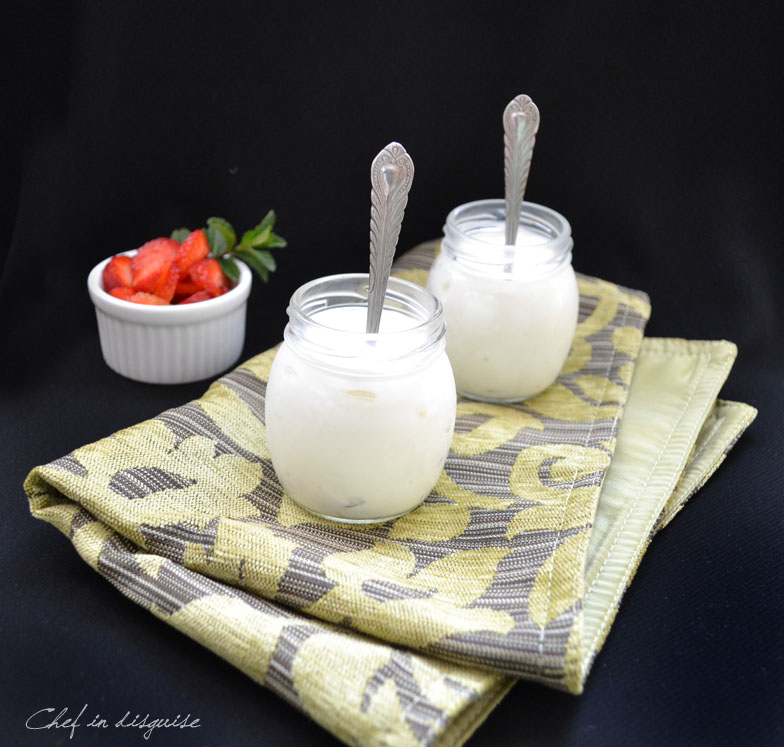
gurt Making your own homemade yogurt is a great way to have a treat that is free of preservatives, chemicals and artificial flavors. It is easy. Tastes a lot better than anything you can buy in a store and it is cheaper too. Having home-made yogurt on hand gives you a world of possibilities. You can have it for breakfast or a snack plain ,with some honey, fruits or granola. You can use it to make tzatziki, or mutawam. You can also cook with it. If all that is not tempting enough you can turn home-made yogurt into labaneh ( A great middle eastern appetizer which you can serve as a dip or a spread for sandwiches or even in salads).

Ready to make your own yogurt?
Great!
let’s get started
Making yogurt is a very simple process, requiring very little active working time. However the amount of information you would have to read about making your own yogurt can be over whelming. I tried my best to sum it up and summarize it for you but if you still have any questions please don’t hesitate to ask.
I updated the post with frequently asked questions. One of my readers did a series of experiements after reading this post (such as trying none dairy milk , fllavored yogurt as a starter and different incubation methods) and she kindly reported her results. I added them to the post (Thank you Nikki)
There are a few major players involved in making home-made yogurt
The milk:
The kind of milk you use to make yogurt can influence the taste and the consistency of the final product. Cow’s milk gives the mildest flavor and medium consistency yogurt. Goat’s milk is moderately flavored and gives you a yogurt that is less set or less firm when compared to cow’s milk. Sheep’s milk has the richest flavor and sets better than the other two types of milk
To boil or not to boil That depends on the type of milk you are using.Fresh milk must be boiled to sterilize it before using it to make yogurt. Pasteurized milk on the other hand has already been sterilized and you only need to warm it up to use it to make yogurt
Can I make milk with none dairy milk such as almond milk or soy milk? You can make milk with soy milk but not with almond milk (thank you Nikki)
The starter:
To make yogurt you need active yogurt making bacteria and the easiest way to get it is to use some yogurt as a starter to transforming your milk into yogurt. If you have previously made your own yogurt save a little of each batch to make the next one. If you have never made your own yogurt you can start by using store-bought yogurt. There are two major points to keep in mind when it comes to starters.
Fresh starter vs old starter: Using a fresh starter will give you mild tasting yogurt. Using an older yogurt for your starter will give you a final result that has a more prominent sour note . If I am using store bought yogurt for my starter I usually leave it outside the fridge the night before I am making yogurt to allow cultures to develop and use it the next day.
Keep in mind that if you are using a store bought yogurt for your starter, it can be tricky to tell if it actually contains live cultures. It may list cultures in the ingredients, but if it does not not have the live and active cultures seal, it probably has been heat-treated and may not work. If you are not sure try with a small amount of milk (around 1 liter)
Amount: The rule of thumb is use 1 tablespoon of starter per liter (5 cups) milk if you want your yogurt to be mild tasting and not too sour. If you are fond of the sour taste, I would increase the amount to 1/4 cup starter per liter (5 cups) milk
Can I use flavored yogurt for a starter? Yes, using flavored yogurt as a starter will give very faint flavor to your homemade milk.

The incubation period
For milk to turn into yogurt after adding the starter you need to keep it covered in a warm place. I usually pour the milk into a pot, cover it with the lid then cover that with a blanket.
How long you keep your milk incubated will affect the consistency and how sour your yogurt will turn out. The longer you keep the milk you have mixed with the starter incubated in a warm place the thicker the consistency and more sour the taste of your yogurt will be. I usually check on it after 4 hours and decide if it needs more time.
The incubation period is greatly affected by how cold or hot the weather is. On cold days you may need up yo 10-12 hour for the milk to turn into yogurt. While on hot days it can be as short as a couple of hours.
If you live in a very cold are, try these incubation options a dish-towel lined warmed crock-pot/slow cooker, an electric heating pad, and a stainless-steel thermos (Thank you Nikki)
Greek or regular
Greek yogurt is basically yogurt that has been strained extensively to remove much of the liquid whey, along with the whey, straining removes a lot of the lactose, and sugar, giving it its thick creamy consistency.
In roughly the same amount of calories, Greek yogurt can pack up to double the protein, while cutting sugar content by half
I prefer my yogurt thick and creamy so I strain it but the choice between greek and regular is entirely up to you. the recipe is the same and so are the steps up to straining the yogurt.

Homemade Greek Yogurt
To make 1 and 1/2 cups of greek yogurt (use this as a basic formula, you can double it, triple it or make 10x the given recipe depending on how much yogurt you need)
1 liter (5 cups) milk (not ultra-pasturized)
1 tablespoon yogurt
Pour the milk into a pot and heat it oer medium heat while stirring till it gets to 40C (if you are using fresh milk you need to boil it first then allow it to cool down to 40C)
If you don’t have a thermometer you can still make yogurt, heat the milk until it feels warm to the touch.
Add the yogurt starter and stir to insure it is destributed
Cover the pot with the lid and them put it in a warm place and cover it with a blanket or a couple of blankets if it is a really cold day.
Check on it after 4 hours, if it is still too runny, cover it again and give it a couple of hours (on really cold days you may need up to 10-12 hours)
If you choose to go the greek path (make your yogurt thicker and creamier)
You will need
a cheese cloth or a clean white dish towel
a colander
a bowl
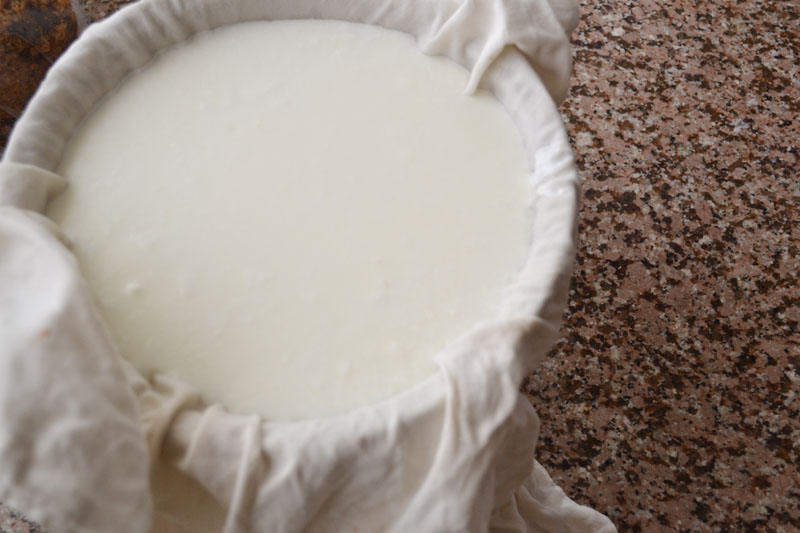
Line your colander with the cheese cloth, then place it on top of a bowl
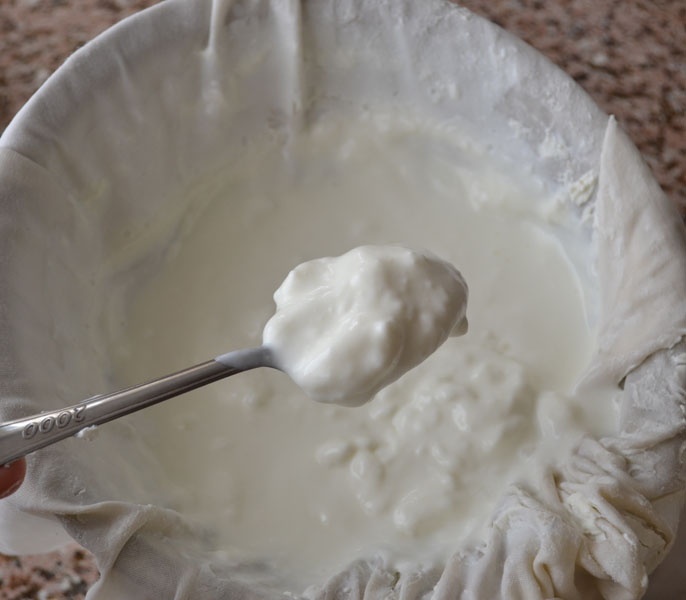
Pour in the yogurt and allow to strain for a couple of hours. During this time stir the yogurt scrapping down the size every 15- 20 minutes
If you don’t have time you can bring the four corners of the cheese cloth together after pouring in the yogurt and lift it. Then twist the corners to squeeze out the liquid (it will drain through the cloth) over the bowl or sink. Continue squeezing, putting the yogurt under pressure, to force the liquid out till the majority of the surface liquid has been drained, it will start to drip more slowly. Tie off the top of the cloth just above the mass of yogurt with string.
Place the cloth containing the yogurt in a strainer , and place it in a bowl where it doesn’t touch the bottom (that way the liquid can continue to drain).Place the bowl containing the strainer in the refrigerator and allow to drain for 2-3 hours.
Yogurt making troubleshoot
My yogurt did not set, it is too runny
You did not allow it enough time to set or the place you incubated it in is not warm enough. Add a blanket and give it a few more hours
My yogurt is not sour
The starter you used is fresh
you didn’t allow the yogurt enough incubation time.
The solution is to leave it covered in a warm place for 3-5 extra hours
My yogurt seems to have set but there’s a little clear liquid floating on the top and the sides. Is this okay?
Yes, some separation of whey from the yogurt is fine and is a natural variation within the culturing process. Sometimes it happens, sometimes it doesn’t. A full separation where the top half is a white mass and the bottom half is clear liquid is a problem however
what do I do with the whey?
Stay tuned for a couple of great recipes to use it up.


