Sara and Erica of Baking JDs were our March 2012 Daring Baker hostesses! Sara & Erica challenged us to make Dutch Crunch bread, a delicious sandwich bread with a unique, crunchy topping. Sara and Erica also challenged us to create a one of a kind sandwich with our bread!
Tiger bread or dutch crunch bread is the commercial name for bread the has a unique mottled surface. The pattern is made by painting rice paste onto the surface prior to baking. The paste dries and cracks during the baking process. In addition to crunch the rice paste crust also gives the bread a distinctive flavour. It has a crusty exterior, but is soft inside. Typically, tiger bread is made as a white bread bloomer loaf or bread roll, but the technique can be applied to any shape of bread.
According to Wikipedia ,the name originated in the Netherlands, where it is known as tijgerbrood or tijgerbol (translation: tiger roll) where it has been sold at least since the early 1970s. In the USA, it is generally sold as “Dutch crunch”. Though recently, some stores began to sell it as “Dutch crust”. In the United States it is also sometimes known as dragonette bread.
On 31 January 2012, the UK grocery chain Sainsbury’s renamed the product “giraffe bread” after a letter written by a three-year-old named Lily Robinson, suggesting the alternative name, went viral. Sainsbury’s stated that “In response to overwhelming customer feedback that our tiger bread has more resemblance to a giraffe, from today we will be changing our tiger bread to giraffe bread
When I first this month’s challenge I was really excited. I have never seen or even tried this kind of bread but it looked really interesting and the idea of a crunchy topping seemed like the addition that would take any sandwich to the next level.
You can find the pdf of the challenge recipes here
Dutch Crunch Topping
Servings: This recipe should make enough topping for two 9×5 loaves (23cmx13cm) or 12 rolls medium or 24 small rolls. I made 6 rolls using the soft white roll recipe that will follow, so I cut the topping recipe in half.
Ingredients
2 tablespoons (2 packets) (30 ml) (15 gm/½ oz) active dry yeast
1 cup (240 ml) warm water (105-115º F) (41-46°C)
2 tablespoons (30 ml) (30 gm/1 oz) sugar
2 tablespoons (30 ml) vegetable oil
½ teaspoon (2½ ml) (3 gm) salt
1½ cups (360 ml) (240 gm/8½ oz) rice flour (white or brown; NOT sweet or glutinous rice flour) (increase by 1 cup or more for home-made rice flour)
Directions:
1. Combine all ingredients in a large bowl and beat with a whisk; beat hard to combine. The consistency should be like stiff royal icing – spreadable, but not too runny. If you pull some up with your whisk, as shown below, it should drip off slowly. Add more water or rice flour as necessary. Let stand 15 minutes
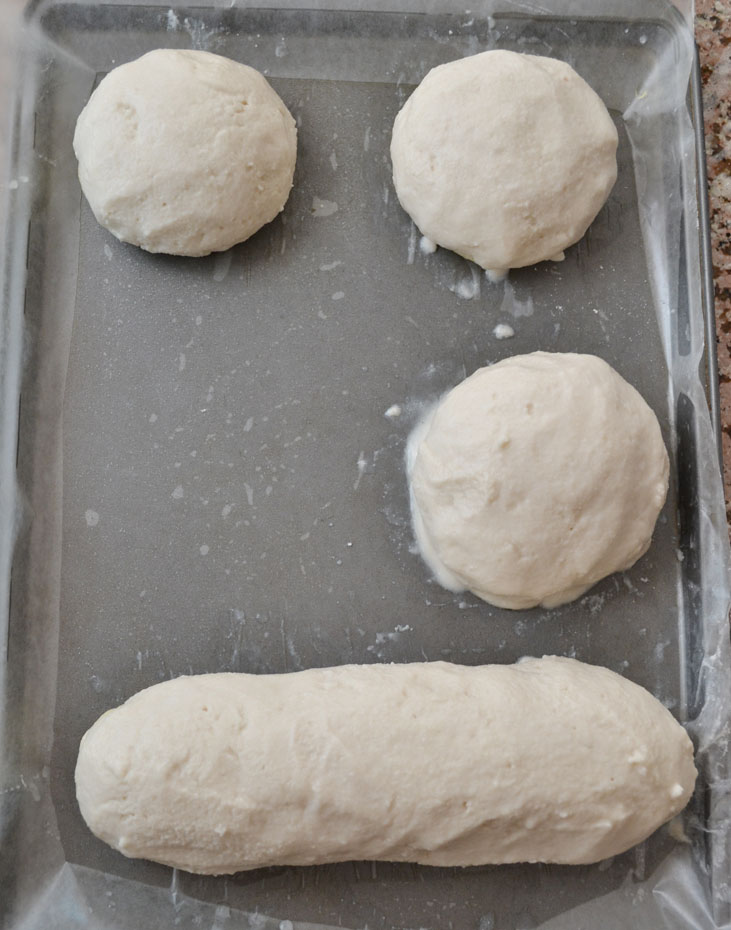
2. Coat the top of each loaf or roll with a thick layer of topping. We tried coating it with a brush but it worked better just to use fingers or a spoon and kind of spread it around. You should err on the side of applying too much topping – a thin layer will not crack properly.
3. Let stand, uncovered, for any additional time your recipe recommends. With the Soft White Roll, you can place the rolls directly into the oven after applying the topping. With the Brown Rice Bread, the loaves should stand for 20 minutes with the topping before baking.
4. When baking, place pans on a rack in the center of the oven and bake your bread as you ordinarily would. The Dutch Crunch topping should crack and turn a nice golden-brown color.
Soft White Roll
Servings: Six sandwich rolls
This recipe approximates the quintessential white sandwich roll found throughout the Bay Area. The recipe is simple, quick, and addictive.
Ingredients
1 tablespoon (1 packet) (15 ml) (7 gm/ ¼ oz) active dry yeast
¼ cup (60 ml) warm water (105-110º F) (41-43°C) (No need to use a thermometer – it should feel between lukewarm and hot to the touch).
1 cup (240 ml) warm milk (105-110º F) (41-43°C) (We’ve tried both nonfat and 2%, with no noticeable difference)
1½ tablespoons (22½ ml) (20 gm/ ⅔ oz) sugar
2 tablespoons (30 ml) vegetable oil (plus additional olive or vegetable oil for greasing bowl during rising)
1½ teaspoons (7½ ml) (9 gm/⅓ oz) salt
Up to 4 cups (960 ml) (600 gm/21oz) all purpose flour
Directions:
1. In a bowl combine yeast, water, milk and sugar. Stir to dissolve and let sit for about 5 minutes (The mixture should start to bubble or foam a bit and smell yeasty).
2. Add in vegetable oil, salt and 2 cups of flour. Using the dough hook attachment or a wooden spoon, mix at medium speed until the dough comes together.
3. Add remaining flour a quarter cup at time until the dough pulls away from the sides of the bowl, as shown in the photo below (For me I only used 1 more cup of flour, that’s 3 in total).
4. Turn out onto a lightly floured surface and knead for about 4 minutes, until smooth and elastic.

5. Place in a lightly greased bowl and cover with plastic wrap. Let rise for 1 hour, or until doubled (or more) in size
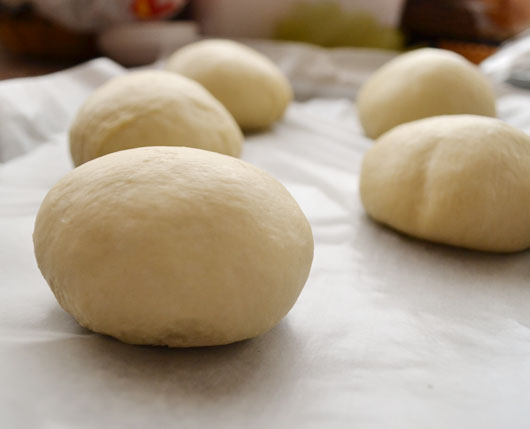
6. Once the dough has risen, turn it out onto a lightly floured surface and divide it into 6 equal portions (if you’d like to make rolls) or 2 equal portions (if you’d like to make a loaf) (using a sharp knife or a dough scraper works well). Shape each into a ball or loaf and place on a parchment-lined baking sheet (try not to handle the dough too much at this point).

7. Cover with plastic wrap and let rise for 15 minutes while you prepare the topping.
8. Coat the top of each roll or loaf with the topping as described above. While the original recipe recommends letting them stand for 20 minutes after applying the topping, I got better results by putting them directly into the oven.
9. Once you’ve applied the topping, bake in a preheated moderately hot 380ºF/190°C/gas mark 5 for 25-30 minutes, until well browned. Let cool completely on a wire rack before eating.
Storage & Freezing Instructions/Tips:
Store as you would any bread – in a bread box, a paper bag, or loose plastic wrap. Both varieties suggested are best in the first couple of days. The loaves or rolls can also be frozen in plastic – simply toast to reheat.
Notes:
I made this bread 3 times,my first attempt was not successful, I didn’t roll the dough well so it split while baking. The topping was too runny and thin and it didn’t crack , no tiger pattern.
For my second attempt I made the bread in my muffin pan, made the topping less runny. I got much better results this time
The topping was still slightly runny which resulted in kind of mushroom rolls that I had to trim a little.
Take three had 3 changes. Firmer topping(1 extra tablespoon of rice flour),I used a very thick layer or topping (about 1cm thick) that I smoothed with a little water, I allowed the dough to rise twice (it rose the first time then I punched it down and let it rise again).
Sandwiches
I made 2 sandwiches. A sharp cheddar with lettuce and tomatoes one
and a goat cheese with sliced cucumber one.
Thank you Sara and Erika for an awesome challenge, I really had fun and learnt something new.


